Easy Corn Muffins
This post may contain affiliate links. Read our disclosure policy.
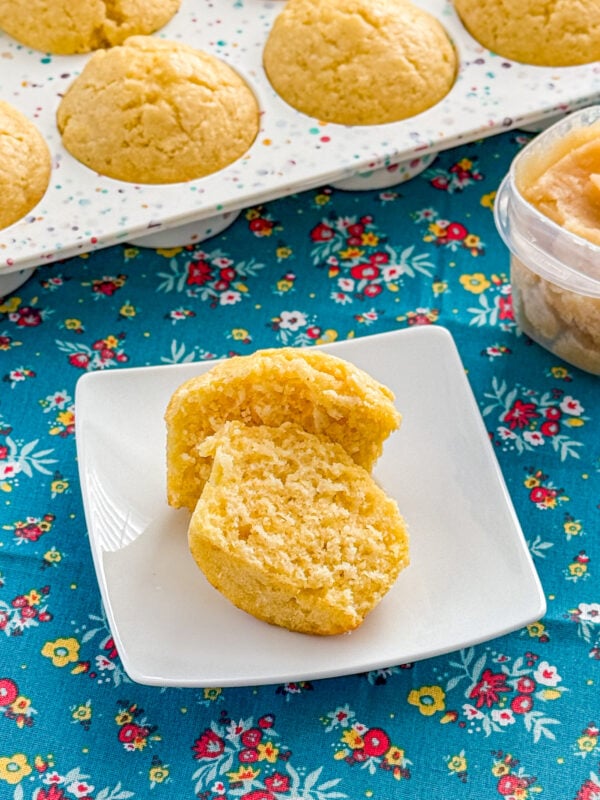
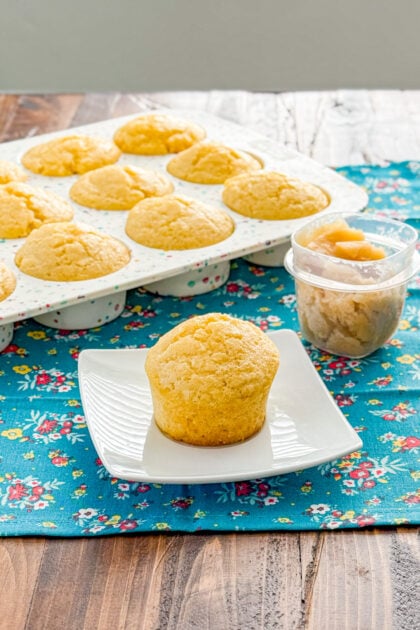
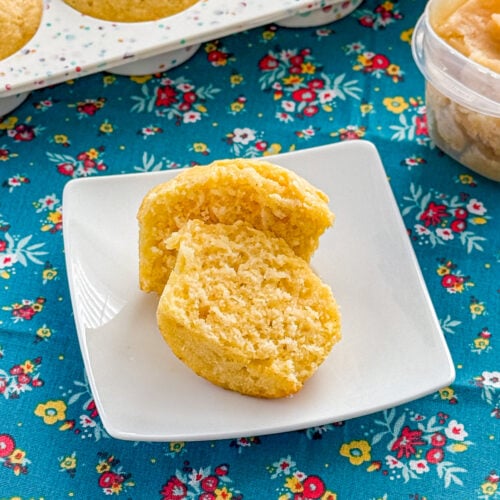
I served these easy corn muffins alongside the crockpot white chicken chili freezer meal I shared yesterday, and they were the perfect match. Just like a classic cornbread recipe, they pair beautifully with soups, stews, barbecue, or anything that calls for a comforting, slightly sweet side. Since they’re called muffins, they lean more toward the cakey side—light, tender, and just sweet enough to stand on their own.
I set out some honey butter to go with them, but honestly, they’re so sweet you could skip the honey butter and stick with good old regular butter. You can always adjust the sweetness and reduce the sugar in these to 1/3 or 1/4 cup if you find them too sweet for you. They’re simple, satisfying, and a great addition to any cozy meal. Whether you’re serving chili, pulled pork, or a hearty fall salad, these muffins are ready to round out the plate.
Ingredients for Easy Corn Muffins
- CANOLA OIL
- LARGE EGGS
- MILK
- BUTTER
- YELLOW CORNMEAL
- ALL-PURPOSE FLOUR
- SUGAR
- BAKING POWDER
- SALT
Instructions for Easy Homemade Corn Muffins
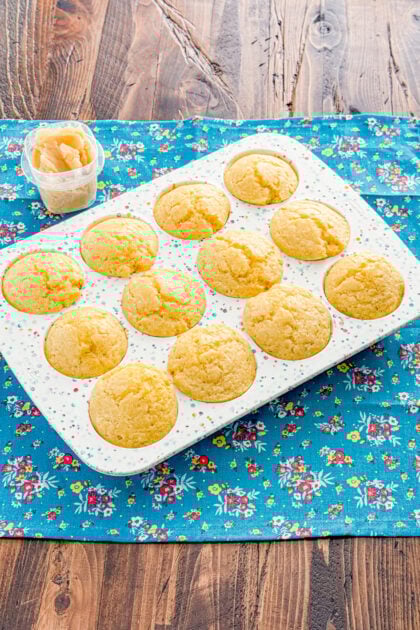
Start by preheating your oven to 350°F. Prepare a 12-cup muffin tin by greasing it or lining it with paper muffin liners. If you’re using a silicone muffin pan, you can skip this step—no greasing needed!
In a large bowl, whisk together the vegetable oil, eggs, and milk until smooth. Then, slowly drizzle in the melted butter, whisking continuously to incorporate it without scrambling the eggs.
Next, add in the dry ingredients – the cornmeal, flour, sugar, baking powder, and salt to the bowl. Gently stir everything together until just combined—be careful not to overmix, as that can make the muffins tough.
Divide the muffin batter evenly between the cups in the prepared muffin pan, filling each about ¾ full. Bake for 15 to 20 minutes, or until the tops are golden and a toothpick inserted in the center comes out clean.
Let the muffins cool in the pan for 1–2 minutes, then transfer them to a wire rack to finish cooling. Serve warm with a pat of butter—though they’re sweet enough to enjoy just as they are!
Frequently Asked Questions
Can I make these muffins ahead of time?
Absolutely. These muffins stay fresh for up to 2 days at room temperature in an airtight container. For longer storage, you can freeze them for up to 3 months. Just reheat in the microwave or oven before serving.
Are these muffins more sweet or savory?
They’re definitely on the sweet and cakey side—think of them as a cross between cornbread and a soft muffin. They pair beautifully with chili, soups, or even as a breakfast treat with butter.
Can I reduce the sugar?
Yes, you can slightly reduce the sugar if you prefer a less sweet muffin. Just keep in mind that it may affect the texture slightly. You can reduce it to as little as 1/4.
Can I add mix-ins like corn kernels or cheese?
Definitely! Stir in ½ cup of corn kernels, shredded cheddar cheese, or even diced jalapeños for a fun twist. Just be careful not to overmix the batter.
FOR MORE RECIPES LIKE THIS, TRY:
Easy Corn Muffins
Real Mom Kitchen


Ingredients
- ⅓ cup vegetable oil
- 2 large eggs
- 1 ¼ cups milk
- 3 Tbsp butter melted and slightly cooled
- ½ cup yellow cornmeal
- 1 ½ cups all-purpose flour
- ½ cup sugar
- 1 Tbsp baking powder
- ½ tsp salt
Instructions
- Preheat oven to 350°F.
- Grease or line muffin tins with paper liners. Set aside. I used my silicone muffin pan, so no need for greasing or lining the pan.
- In a large mixing bowl, whisk together vegetable oil, eggs, and milk. Then slowly dizzle in the melted butter while whisking in the melted butter.
- Add in the cornmeal, flour, sugar, baking powder, and salt. Gently stir into the wet ingredients until just combined.
- Divide batter between 12 muffin tin cups, filling ¾ of the way full.
- Bake at 350°F or 15-20 minutes or until a toothpick inserted in the center of the muffin comes out clean.
- Allow muffins to cool for 1-2 minutes before transferring from the pan to a cooling rack.
- Serve warm with butter.
Nutrition
This recipe is adapted from I Heart Eating.